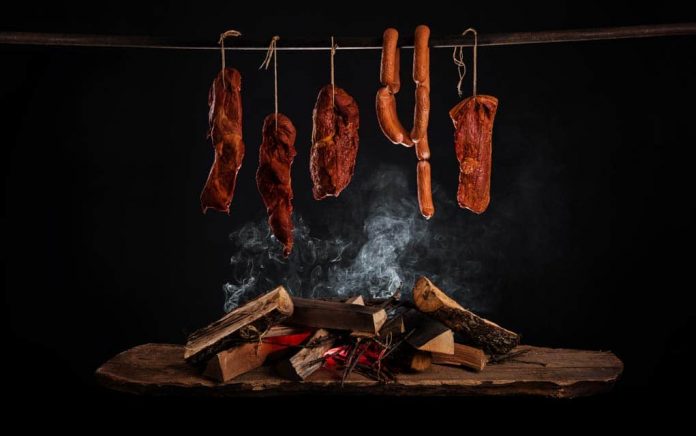
Before the invention of refrigerators, people had to get creative to store food without it going rancid. For those who embrace a survivalist mindset, learning how to practice these age-old secrets is a way to embrace the past, and prepare for the future.
One popular method of food preservation that has been utilized for thousands of years, is smoking meat. Smoking not only preserves meat but also gives it a great taste as well. The practice of smoking food goes back to ancient times and is every bit as useful now as ever before. When smoking meat, there are six steps to follow.
Step 1: Prepare
This step includes gathering everything you’re going to need to smoke the meat.
- Wood chips
- A smoker
- Utensils
- Salt, spices, and seasonings
In order to smoke the meat, you’ll need to cut it into the correct size. Depending on what recipe you’re going to use and how long you desire to preserve the meat adding salt and spices may be required.
Step 2: Create Your Smoker
You can’t smoke meat without a smoker. Aside from a pit and some wood, there are other options available. Water smokers allow the meat to smoke for longer, allowing a lower but more consistent air temperature.
While not as flavorful as traditional smoking, a gas smoker allows the meat to cook faster; no need to monitor the temperature constantly. An expensive alternative, offering the easiest way to smoke meat is an electric smoker. Again, doesn’t give the ribs much flavor, but is convenient. Though obviously an electric smoker could prove to be impractical if there’s no power.
It doesn’t matter how fancy your smoker is, you’re still going to use wood chips. The type used determines the flavor of the meat. You can mix different kinds of wood, but don’t use treated or painted wood.
Step 3: Meat Preparation
There are several types of meat that can be smoked:
- Beef
- Poultry
- Pork
- Fish
Some meats work better than others and provide better results. Marinading or rubbing the food in salt or spices not only provides extra flavor but it also pulls moisture out of the meat. This inhibits the growth of bacteria, in turn extending its shelf life.
If taken from a fridge, you’ll need to allow the meat to reach room temperature before preparing it. You should trim any fat and cut the meat into strips. Not only will you need to cut it down, you’ll also need to remove any gristle, skin, and bone. You can set the meat aside after you’ve rubbed salt on it.
Step 4: Dehydrate
Skewer the meat strips then set them a couple of feet above the hot coals. Don’t let the strips set for too long or you’ll end up cooking them, which is not the objective. The idea is to remove any moisture from the meat. This potentially gets rid of any bacteria present and prevents the strips from spoiling too soon.
Step 5: Smoke ‘Em
Smoking times vary from recipe to recipe. Whatever you do, don’t place the meat directly over the source of heat. This will result in it cooking too fast. Once your smoker is operational, place your meat in and smoke until it’s done. The meat will crack when bent rather than being flexible when done.
Step 6: Store It
Smoking is only half the battle. You’ll still need to store your smoked meat properly to avoid contamination. Smoked beef will last longer than regular beef, but not forever; especially true if not cured. Cured meat can last up to a year after being prepared, smoked, and stored properly.
Conclusion
Smoking has proven to be an effective way of preserving meat for centuries. It came long before refrigeration, and will likely be here long after, making just another skill for you to learn to help your chances of survival if the world as we know it collapses.
Have you ever tried smoking meat before? If so, what was the experience like? Reply to your email and share your story, we would love to hear from you!
Copyright 2021, TheSurvivalGuide.com


