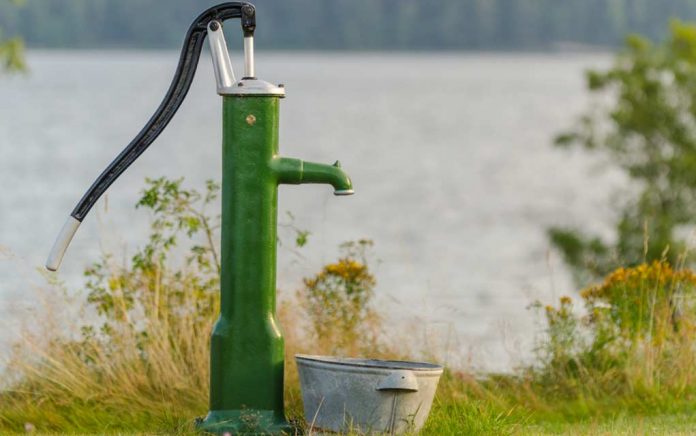
For preppers looking to live off-grid, or possibly just looking for a secondary water source for emergency use, knowing how to drive your own well can be a lifesaver. Not only will you be able to do it yourself, but it’s also very cost-effective compared to drilling a well. Best of all, you can do it in a day!
Wells installed using this particular method are called sand point wells and are designed for sandy or gravel-filled areas. They are also commonly used in areas with lots of clay, requiring earth augers and locations with hard ground that typically require drilling.
Learn more in the following video:
Locate Your Water Table
In theory, you could just go around driving pipes in the ground until you hit the water. However, this method wastes a lot of time and consumes materials and energy.
Contacting your county’s water district or the state’s Department of Natural Resources (DNR) is the best way to obtain information regarding the location of your water table. You can also check the US Geological Survey and Water Systems Council websites for information.
How to Install a Sand Point Well
Some areas, especially within town or city limits, require you to have a permit before installing a well. So, be sure to check with local officials before you begin.
The installation process is relatively simple. All you need is some drive pipe ranging from 1 ¼ to 2 inches in diameter, a hand pump, some couplers, a couple of pipe wrenches, a drive hammer, and either thread tape or pipe dope. You will also need to have a sand point.
Basically, what you’re going to do is hammer your sand point and pipe into the ground until you hit the water. Typically, you won’t need to hammer more than 30 feet deep to hit the water.
Start by digging a hole about 5 feet deep with post hole diggers or a shovel. This process gives you a starting point for placing the sand point and a pipe length in the ground. Starting a hole this deep enables you to drive the well without the need for a ladder.
Then, connect the sand point and the first piece of rigid pipe using a coupler. Be sure you either use pipe dope or thread tape on the threads before joining them. From here, you drive it until the pipe is about a foot above the ground.
Next, you’ll add your next piece of pipe, repeating the same process of putting pipe dope or thread tape on the threads before connection. Be sure to buy an extra coupler or thread cap to use as a drive cap, which protects the threads from being damaged while driving.
Repeat this process until you hit water. If you’re not sure you reached water, you can put a tape measure down the pipe and hear when it hits some. Once you’ve hit water, make sure you drive your sand point at least a foot past the water level. This process ensures your well won’t run dry due to any fluctuations in the water table.
Additionally, make sure that after you hit water, you measure your pipe before adding to the well. This step ensures your pump will be at a comfortable height — generally around two or three feet tall.
The next thing you’ll want to do is add the pump. You should submerge the pump in water for a few hours to wet the leathers. (You can save time by performing this step before driving your well.)
Prime the pump and start pumping. After a few pumps, water will begin to flow out of your pipe. Don’t be alarmed if your water is muddy; that’s perfectly normal when it first reaches the surface. However, it will clear up after all the loose dirt has been cleared away from the sand point.
Congratulations!
Well done, you now have your own water source. The ability to provide yourself with water is extremely valuable, even if you don’t use it right away.
Now, if disaster strikes, you don’t have to worry about running out of water. If, for some reason, you can’t drive your own well, fear not as you can always stock up on water in case of an emergency.
Copyright 2021, TheSurvivalGuide.com


