Life has been crazy all year. Every time you turn around there is a shortage of some kind, from toilet paper to food. Recalls are becoming a daily issue, people are panic buying, and truckers are striking – all of which adds more stress to daily life.
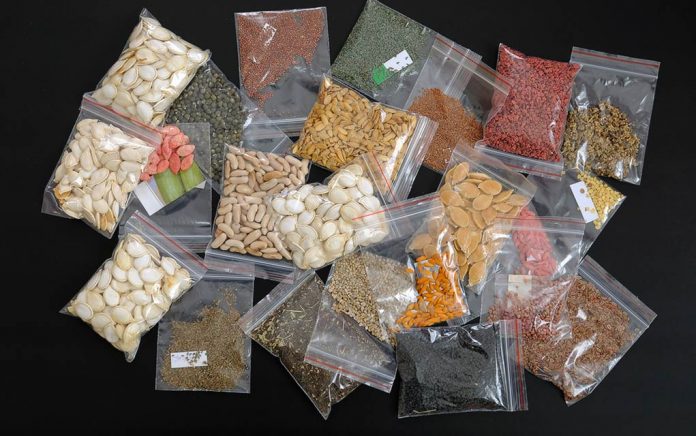
To combat these issues, many people started survival gardening and canning this year. Unfortunately, the shortages also had an impact on the seeds essential to these gardens, making it abundantly clear that it’s time to start a seed bank.
The question is, how do you start, and what’s the best way to store them?
COLLECT SEEDS
First and foremost, do not save seeds from the vegetables you buy at the store! Most people may not realize it, but fresh vegetables from the supermarket have become relatively flavorless. They may look like vegetables, but they don’t taste like them. They have become so genetically modified they have lost their taste, and most seeds from these and hybrids are sterile. We suggest you start with Heirloom Seeds, which are open-pollinated and non-hybrid. If you already use these in your garden, you are a step ahead and can start collecting seeds from your garden immediately.
When saving from your garden, choose plants from all the varieties you would like to replant in the future. Ensure that they are healthy, mature plants and that it’s near the end of the growing season.
PREPARE SEEDS
To have viable seeds for the future, you must mimic nature to prepare them for storage. Seeds from fleshy fruits and vegetables like tomatoes, cucumbers, and watermelons, need to go through a fermentation process. Remove the seeds and place them in containers of water for 2 to 4 days. Once the fermentation period is completed, remove the good seeds, those that have sunk to the bottom. Dry them thoroughly and place them in the freezer for 24 hours.
Dry seeds like beans, peas, peppers can be laid out or hung out to dry until the outer coverings are dry enough to remove the seeds. Herbs, since their seeds are so small, can be put in little paper bags. Shake the plants’ heads into the bags, and the tiny seeds will fall out, giving you a generous supply for your next planting.
STORING LONG-TERM
Now that you have all of your seeds ready, it’s time to store them. You will want to purchase air-tight containers that you can label. You want air-tight containers to protect your seeds from sunlight, moisture, rodents, and insects. I use old pill bottles and one silica gel pack per bottle. No matter what you decide to use, be sure to store them in a cool, dark, and dry area.
BEFORE PLANTING
Once it’s spring and time for planting, the last thing you want to discover is that your seeds are not viable. What you will want to do is place about 10 of each type of seed in a damp paper towel. Place these towels in plastic bags, but don’t close them. Leave in a warm, sunny room. If they are viable, you will start seeing small sprouts on them within a week.
There you have it! You have started your own seed bank. At the end of each season, continue adding more seeds to your collection, and you can keep gardening indefinitely.
If you’re wondering why adding a silica gel pack to your seed container is important, it’s to absorb moisture, protecting your seeds from mold and rot. Check out how useful they can be in other areas of your life here.
Copyright 2021, TheSurvivalGuide.com


